

Blog
Mini Excavator Attachments: Compatibility Before You Buy

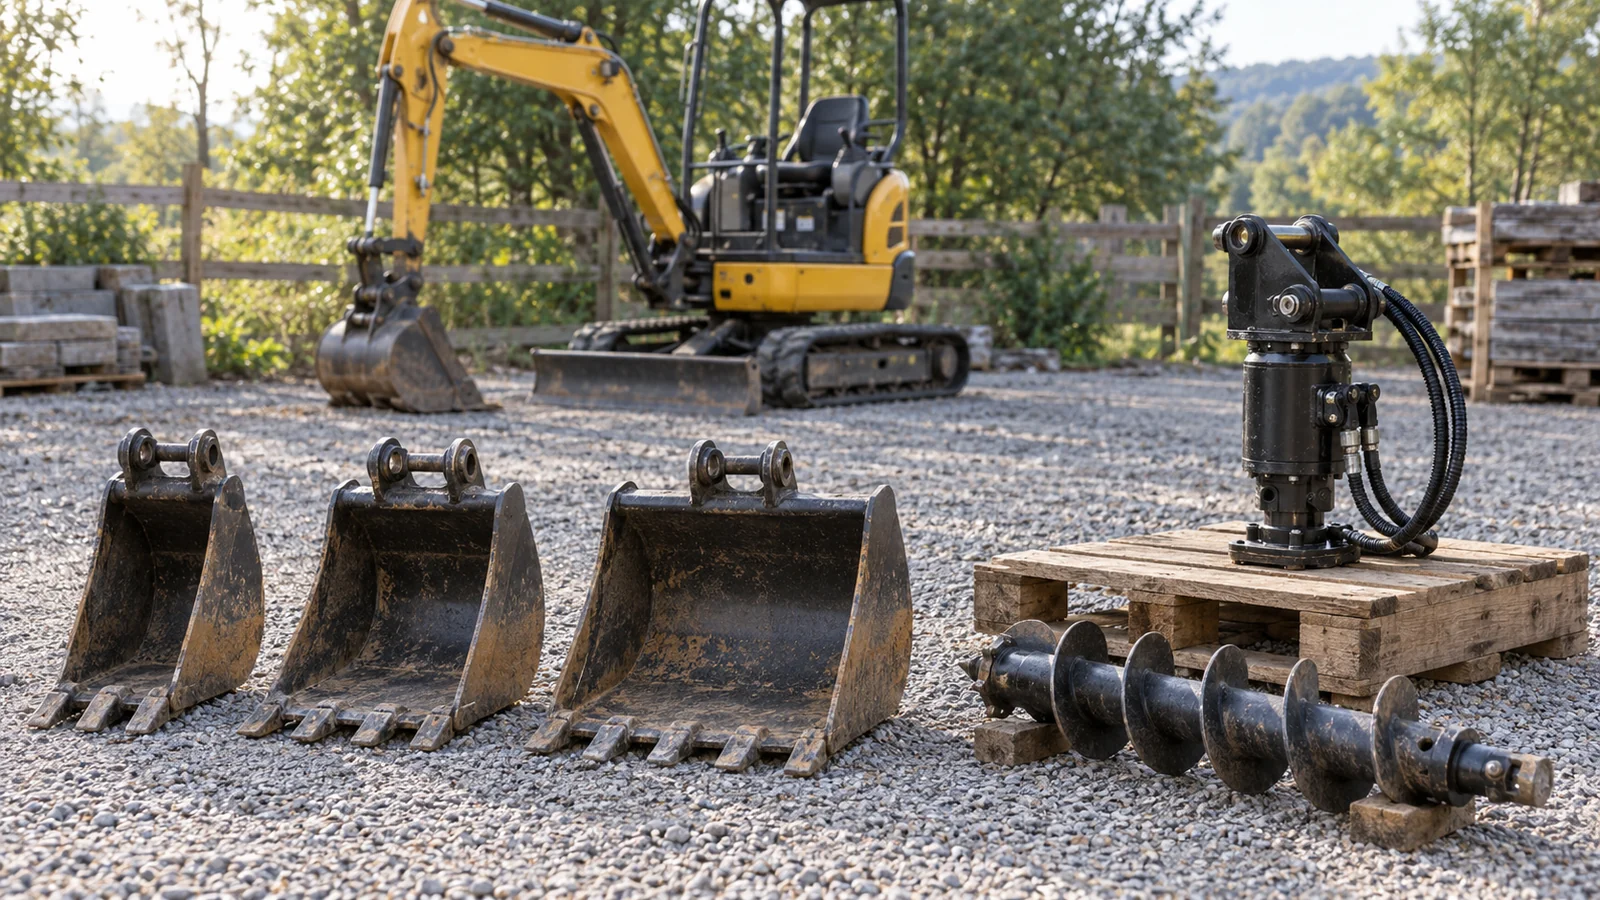
Compatibility is a documented match, not a size-class guess
Before buying mini excavator attachments, confirm the exact machine model and serial number, the mounting interface, the attachment’s weight and the hydraulic requirements where applicable. An attachment that looks suitable—or is advertised for the same weight class—is not automatically compatible. Mechanical fit, hydraulic supply, controls and manufacturer approval are separate checks.
This guide helps you assemble the information needed for a purchase decision. It does not provide installation instructions, hydraulic modifications or operating procedures. Keep the machine, coupler and attachment manuals together, and have the manufacturer or qualified dealer resolve any missing specifications before ordering.
If you are choosing a machine and attachment together, begin with Riggmont’s mini-excavator category and ask what documentation is available for the exact listing.
Mini excavator attachments: key compatibility takeaways
- Start with exact model, serial and attachment part numbers.
- Check the physical interface separately from hydraulic capability.
- Ask for the attachment’s required flow, pressure, circuit arrangement and controls—not a generic “hydraulic ready” description.
- Obtain written confirmation for the complete configuration, including the coupler and any approved adapter.
Identify the complete configuration before comparing tools
Create a machine identity sheet containing its manufacturer, model, serial number, arm configuration, installed coupler and hydraulic options. Take photographs of the identification plate and coupler labels. For an existing machine, distinguish equipment actually installed from options shown in a brochure; for a new purchase, ask which options are included in the quote.
Then request the attachment manufacturer’s model, part number, specification sheet and manual. Caterpillar’s mini-excavator compatibility guide organizes its matching information by attachment part number, interface type and hydraulic type, with separate machine-model columns.[4] That structure is a useful purchasing model: identify the complete combination instead of comparing two general product descriptions.
Ask the seller to put the proposed machine-and-attachment pairing in writing, including any serial-range restrictions. Bobcat’s coupler guidance recommends matching by machine model and serial number rather than treating measurement alone as a substitute for the correct parts.[5] A statement such as “fits mini excavators” leaves the most important questions unanswered.
Mini excavator attachments: check couplers and pins
Identify whether the machine uses direct pin-on mounting, a pin-grabber coupler or a dedicated attachment interface. Those descriptions are not equivalent. Caterpillar’s guide distinguishes pin-on tools from tools requiring specific coupler families or mounting brackets.[4] Begin with the exact interface designation on your documentation.
For a pin-mounted or pin-grabber arrangement, request the manufacturer’s fitment drawing. Bobcat identifies pin diameter, pin spacing, stick/link width, machine class and attachment interface as factors that determine coupler fit.[5] A matching pin diameter does not establish that the remaining dimensions and locking arrangement are correct.
- Confirm the front and rear pin specifications rather than assuming they are identical.
- Record the pin center-to-center spacing and attachment-ear dimensions from the drawing.
- Identify the coupler manufacturer, model and approved tool interface.
- Ask whether the complete assembly has been checked for movement clearance and locking compatibility.
Treat these as documentation requests, not instructions to test an unverified attachment on the machine. If an adapter is proposed, request its manufacturer approval, weight and effect on the permitted configuration. Do not buy on the assumption that fabrication, welding or changing pins will solve a mismatch.
The Kubota operator manual requires attachments, particularly quick-attach equipment, to be securely mounted and directs operators to read the relevant manuals.[1] The purchase check is not the final safety check: qualified installation and the manufacturer’s inspection procedures still apply before use.
Verify flow, pressure, circuits and controls separately
For a powered attachment, request its hydraulic requirements and compare them with the machine’s documented auxiliary circuit. Kubota’s operator manual lists attachment-port flow and pressure separately.[1] Do not substitute engine horsepower, total pump output or the presence of hose connections for the auxiliary specifications the attachment requires.
Ask a qualified dealer or technician to confirm that the machine’s available flow and permitted settings match the attachment manufacturer’s specified operating range, and that the circuit’s pressure limits are appropriate. Avoid using unrelated maximum values as proof of compatibility. If the documents use different units, request a checked comparison rather than estimating.
More than two hoses may need checking
Use the attachment manual to ask whether the tool requires one-way or two-way operation, a specified return arrangement, a case-drain connection, additional auxiliary circuits or electrical controls. These are questions for the exact tool, not requirements shared by every attachment.
Caterpillar’s compatibility legends distinguish first auxiliary, second auxiliary and dedicated factory-installed hydraulics; some entries also specify an electrical connection.[4] This is why a generic statement that an excavator “has auxiliary hydraulics” is incomplete. Record the circuit and control requirements on your comparison sheet.
Include hose routing, connection specification and any manufacturer-required protective equipment in the questions for the installer. Do not change relief settings, alter plumbing or improvise a return connection to make an unverified tool work. If compatibility depends on a modification, pause the order until the manufacturer and qualified installer specify an approved solution.
Need to clarify a listing? Contact Riggmont support with the machine identification, attachment part number and the specific documents you need reviewed.
Choose the task first, then check the complete tool
After confirming the interface and hydraulic requirements, describe the result you need: a narrow excavation, a finished surface, drilled holes or another defined task. Request the appropriate tool specification for the material and application, then verify that exact tool against the machine. Do not assume every bucket, auger or breaker within a category has the same fitment requirements.
For a bucket, ask about its width, rated capacity, empty weight and intended application. For a powered tool, request the complete assembly weight, including the mount and accessories. Keep these values separate from machine operating weight and any lifting-capacity discussion.
Attachment weight also belongs in transport planning. If lifting is intended, use the applicable machine load chart and manufacturer instructions for the actual configuration. The Kubota manual identifies chart conditions and accounts for bucket and lifting-accessory weight; it is not a blanket approval for any tool that can be attached.[1] Have a qualified person review the proposed work rather than deriving a lift limit from machine class.
Make unresolved approval visible. For example, a used bucket with no identification plate may need a fitment assessment before it belongs on the purchase list. A hydraulic tool without a manual should remain an unverified option, even if the seller describes it as a good match.
Your mini excavator attachment planning checklist
- Identify: Collect machine model, serial number, arm configuration and installed options.
- Document: Obtain the attachment model, part number, specification sheet and manual.
- Match the mount: Confirm coupler identity, pin geometry, approved interface and any adapter.
- Match the hydraulics: Have flow, pressure, circuit arrangement, return requirements and controls checked against the manuals.
- Review the complete assembly: Confirm weight, clearance, guarding requirements and permitted application.
- Confirm the purchase: Get written fitment confirmation and identify what mounting parts, hoses, controls and installation are included.
- Plan support: Ask about wear parts, maintenance, service documentation and warranty conditions for the quoted configuration.
Frequently asked questions
Are mini excavator attachments universal?
No. Bobcat’s coupler guidance identifies multiple fitment factors, including pin dimensions and attachment interface.[5] Confirm the exact machine-and-tool combination instead of relying on a weight-class label.
Is matching hydraulic flow enough?
No. Request confirmation of pressure limits, circuit arrangement and any additional control or connection requirements. Caterpillar’s guide treats the required hydraulic type as a separate compatibility field.[4]
Can an adapter make an incompatible attachment suitable?
Only treat an adapter as an option when its manufacturer and the relevant equipment manufacturers confirm the complete configuration. An adapter does not, by itself, establish hydraulic compatibility or approval for the intended task.
Buy with a compatibility record, not an assumption
The useful outcome is a documented pairing: exact machine, exact attachment, approved mounting arrangement and verified hydraulic requirements where applicable. References to Bobcat, Kubota and Caterpillar explain manufacturer matching principles; they do not indicate that Riggmont stocks those brands, attachments or adapters.
Email your proposed configuration and documentation questions to sales@riggmont.com before ordering.
Sources and manufacturer references
These references illustrate selection principles. Use the current manuals and approvals for your exact model, serial number, region and configuration; linked specifications are not universal limits.